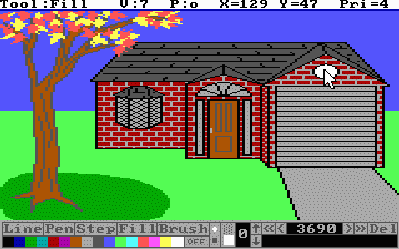
The Tool Buttons
| Line |
| Pen |
| Step |
| Fill |
| Brush |
If you have a tool selected, start using that tool, and then change the color, there is no need to reselect the tool. Whatever is shown on the status line will be used again when you click on the picture surface.
The Palette Buttons
The palette buttons are used to change visual and priority colors. Left clicking on the palette bar changes the visual color; right clicking on the palette bar changes the priority color.
| OFF |
The Off Button
The off button is directly related to the palette buttons. Left clicking the off button disables visual drawing, right clicking the off button disables priority drawing. You can think of the off button as an invisible palette color. Usually the off button is used to turn off one of the colors so that work can be done on only one of the screens.
The Brush State Interface
This was briefly mentioned in the brush tool section. It allows you to select the size of the brush (with the up and down arrows), set the shape of the brush (either square or circle), and set whether it is solid or a spray. The brush state interface lies between the off button and the navigation buttons. When the brush tool is used, the state shown by this interface is what is used.
The Navigation Buttons and Buffer Position Edit Field
The navigation buttons allow the artist to navigate backwards and forwards through the picture code action by action. The four navigation buttons operate as follows:
Home (<<): This button takes you to the start of the picture code.
Left (<) : This button takes you back to the start of the previous drawing action.
Right (>): This button take you to the start of the next drawing action.
End (>>) : This button takes you to the end of the picture code.
As the navigation buttons are used, the picture surface reflects where you are since it only draws up to the point that you are at in the buffer. The value in the buffer position edit field will also change. This field contains the data used to create the picture code. Understanding this data is not necessary to create pictures, so I am not including much detail in this tutorial. To learn more about the buffer position edit field, you can read the documentation that Lance Ewing included with PicEdit.
The navigation buttons and buffer position edit field allow you to go back and make changes to existing data or insert something that you forgot to draw. As we shall see by the next section, in combination with the delete button, these features can be very powerful.
| Del |
The Delete Button
The delete button is a very powerful tool which allows you to delete any actions in which you made a mistake. Used with the navigation buttons, you can "back up" to just before the action in which your mistake occured, and push the delete button. Warning!! This will delete the whole action. That means that if the mistake is only in part of the action, you will have to redraw the whole action to fix it up. It is probably a good idea to split big actions up into smaller segments because of this.
The Buffer Contents Display Field
This field displays the data in the picture code. As I mentioned before, knowledge of this data is not necessary, but you can read more about it in the documentation included with PicEdit. You can also use the "View Data" option in the menu system to look at the data currently in the picture code buffer.
Exercise 1.2 My First Picture
Now that you have a basic understanding of the tools that PicEdit uses, I would encourage you to try them out. It may take a little practice, but you'll get the hang of it. You can also try editing other AGI pictures. One fun trick is to use the navigation buttons to back up to just before a fill, and select a different color. This is a great way to experiment with what looks good.